Project Setup
Install Unreal Engine 4
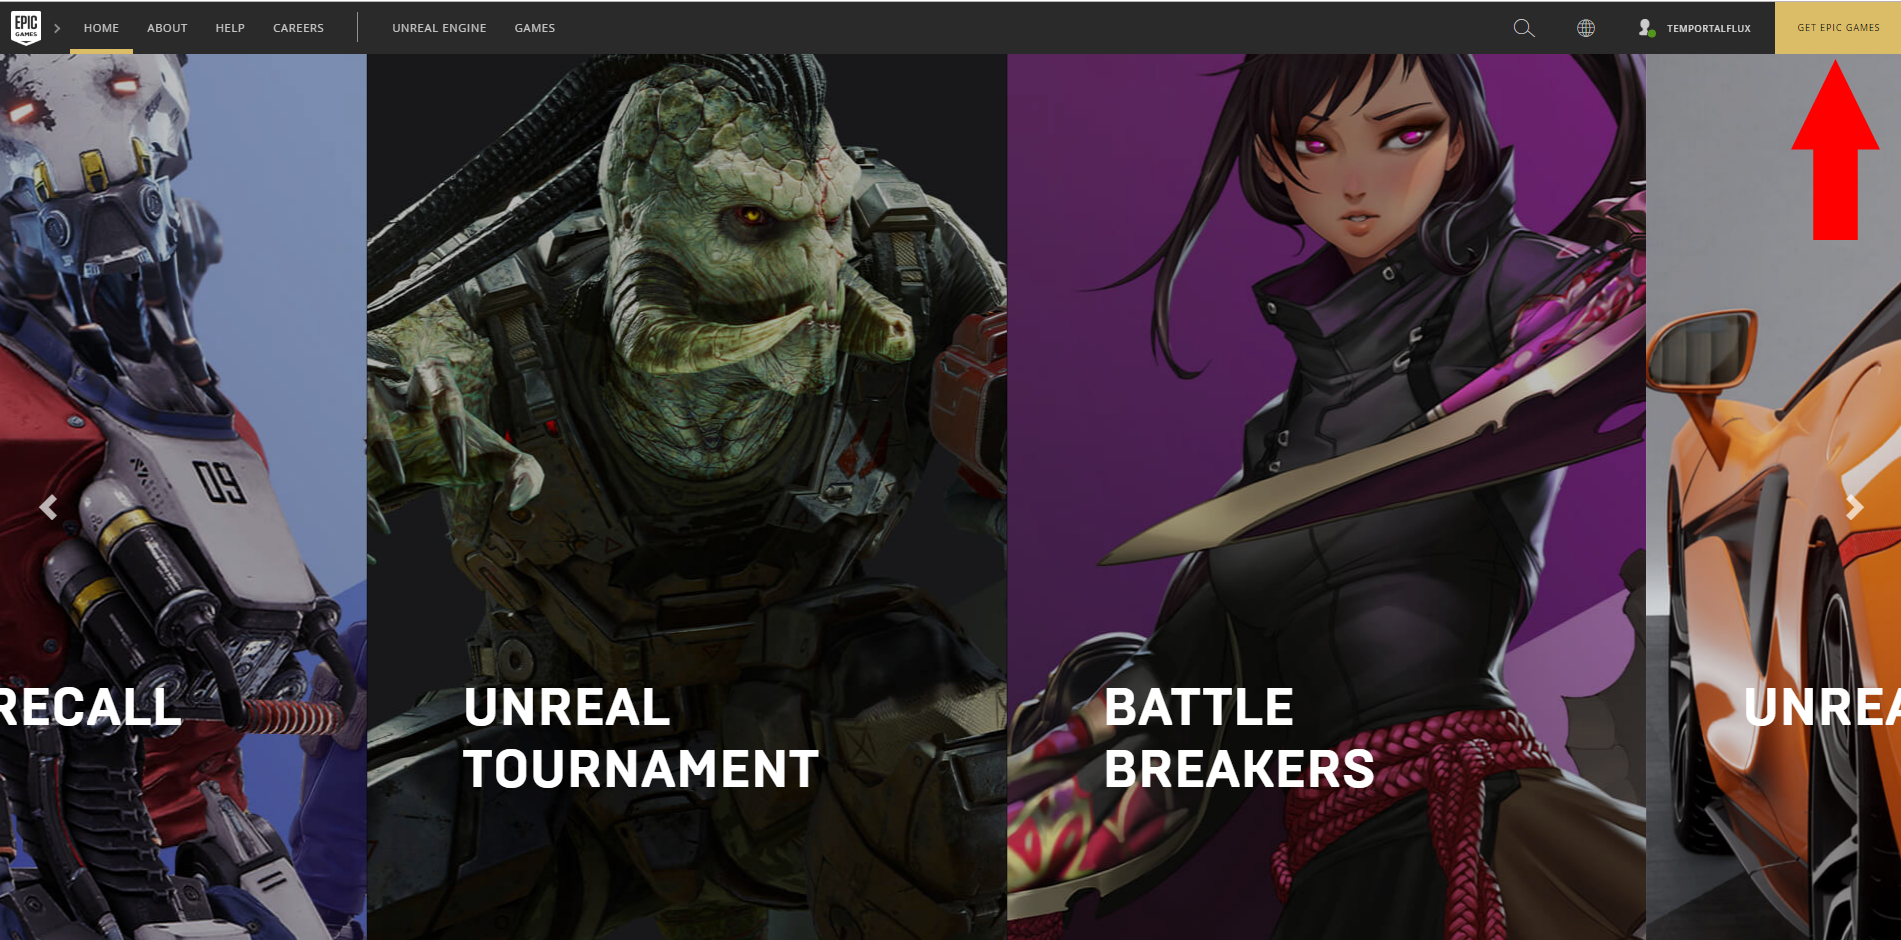
- Get the Epic Games Launcher
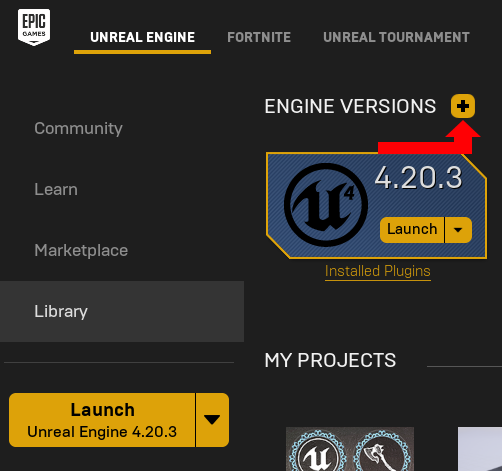
- Install UE 4.20.3
This will take a while, so I recommend also starting the next section while this is installing.
Install Visual Studio 2017
You will need to install VS2017 in order to build the project files. The UE4 docs on the subject can be found here.
All of the following can be found in the link above.
- Install Visual Studio ‘Community 2017’ from https://visualstudio.microsoft.com/vs/
- Select the right options for a new Visual Studio installation
“To add C++ tools to your Visual Studio installation, make sure you select Game development with C++ under Workloads.”

“To include the UE 4 installer when installing Visual Studio, locate the Summary sidebar on the right, expand Game Development with C++, and under Optional make sure the box for Unreal Engine installer is checked.”

The UE4 doc has some recommendations on the settings of Visual Studio, but for most developers, this is not relevant.
Visual Studio also taks a while to install, so it is recommended that you continue onto the next step before these two finish.
Install SourceTree
While Unreal Engine 4 and Visual Studio 2017 install, it is time to setup our repository.
- Install SourceTree
Go to https://www.sourcetreeapp.com/ and download the latest version for your platform (likely Windows). When you open the installer, if it doesn’t prompt you to log in with an Atlassian or Bitbucket accound, then please go to the Download Archives and download version 2.6.9.0. Some PCs have issues with the automatic download.
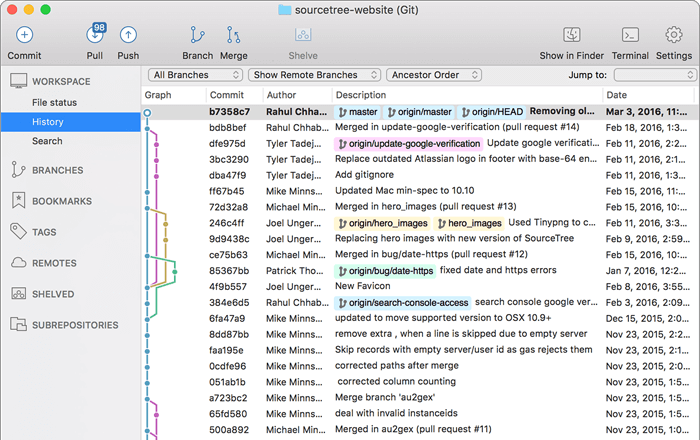
Clone the repository
Now that source tree is installed, it is time to clone the repository. Basically, we need to make a local copy of the files that are in pineapple so we can modify them and send them back to pineapple later.
- Get the repository URL
When you clone the repository, make sure you are using the right URL. These URLs can also be found on the Pineapple page.
Most users will use https://username@pineapple.champlain.edu/capstone-2018-19-t5.git (make sure to replace username with you Champlain first.last username). For those using SecureShell: ssh://git@pineapple.champlain.edu/capstone-2018-19-t5.git.
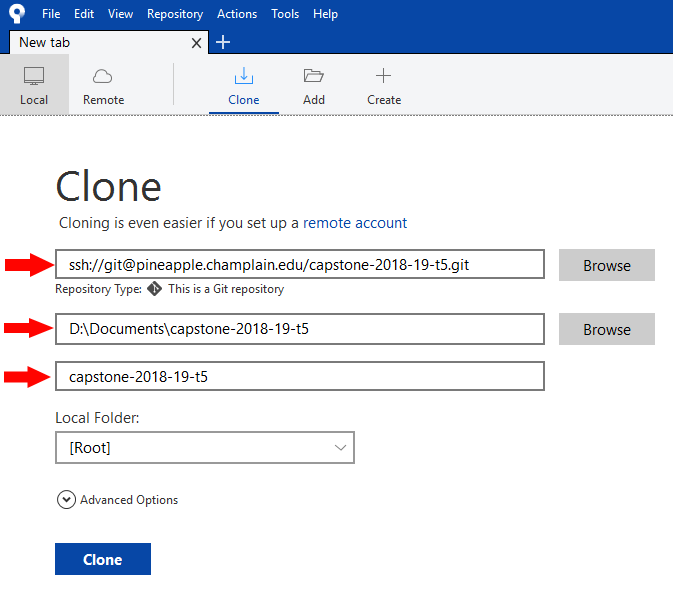
- Select Clone

- Input the URL from step 1, and set your desired destination
Make sure to tell sourcetree where the repository is coming from (the url from step 1) and where on your disk drive you want to put it. The folder where it is going must be empty. I am using the ssh url in this example, but you can also use the https url. If using https, you should see a prompt appear when you click out of the url field prompting you to enter your pineapple username and password.
Generate Project Files
Now that the repository is cloned, UE 4.20.3 is installed (and uproject files associated with Unreal Engine), and Visual Studio 2017 is installed, it is time to open the project.
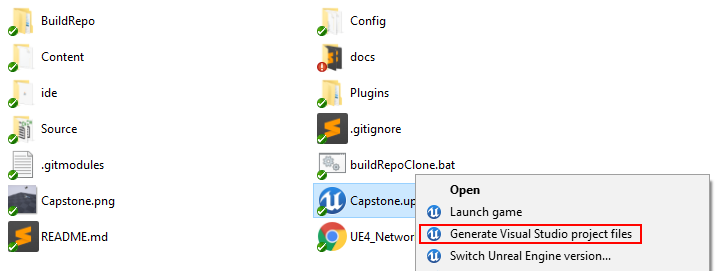
But wait - alas there is no Visual Studio solution. Unreal Engine will fail without that!
All you need to do is right click on the uproject file and select “Generate Visual Studio project files”.
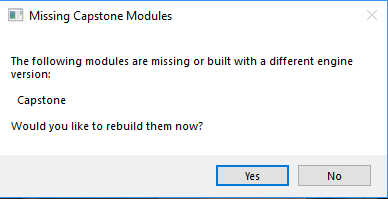
Build Binaries
Finally, Unreal Engine 4 can builds its binaries. These are all the files that are build from the assets in the project to make sure it runs. All you need to do is double click the uproject file, and Unreal Engine knows whether or not it needs to build binaries. If it does, you’ll just have to give it permission when you see the prompt below (click yes).