QA
Ah, so you’ve been tasked with running a Quality Assurance playtesting session. Well you’ve come to the right place. This doc is all about that QA, all about that QA.
When you first get to the lab, make sure to check in as a developer, and grab a pod. We will be needed 4 xbox controllers, unless otherwise specified. You can get those from the same person you checked in with (the QA manager). Please log on to all the computers in the pod. We will need at least 4 computers. If you intend on watching the play session from and external computer, you will need a 5th computer. If you have not already talked with the team, please inquire into if you are going to be recording the play session, this will be critical for later.
Finding the repo
Once you are logged onto a lab computer, you will need to pull any and all build changes. First off though, we need to find our build repository. This is a special repo, which the QA managers have set up to pull builds from. (This is the same repo which is pushed to when a build is made).
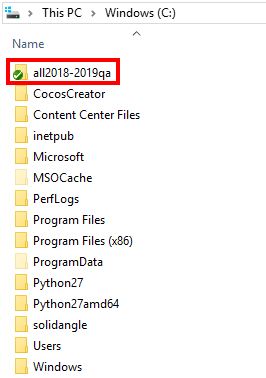
Find the build repo in C:/all2018-2019qa
Navigate to C:/all2018-2019qa/capstone/capstone-2018-19-t5
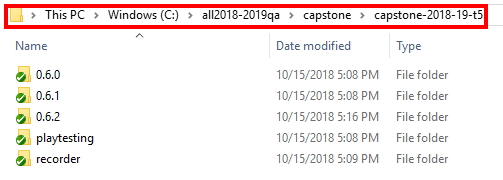
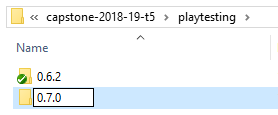
Observer there are the folders: recorder, playtesting, and a number of MAJOR.MINOR.PATCH folders
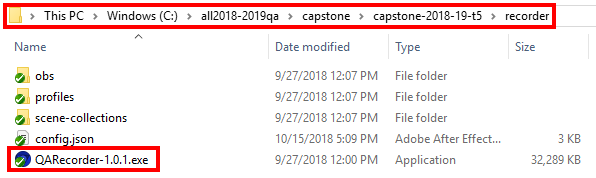
Find C:/all2018-2019qa/capstone/capstone-2018-19-t5/recorder/QARecorder-1.0.1.exe
Pull our build
Now that we have found the build repo, we need to grab our latest build. If you don’t know it yet, please check with the team as to the build version that is being tested.
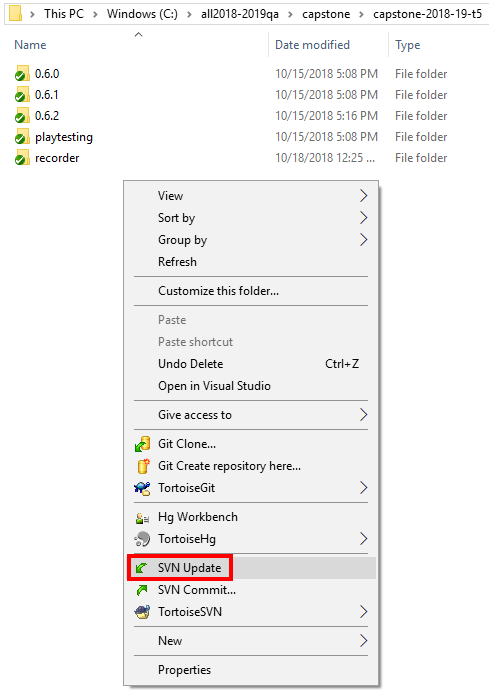
Go ahead and navigate to the QA repo (should be C:/all2018-2019qa) and to our capstone folder (C:/all2018-2019qa/capstone/capstone-2018-19-t5) in File Explorer. Then click on the empty space somewhere, and select the dropdown menu option labeled “SVN Update” (if not, please panic to the QA Manager). This pulls all the build changes for our builds only.
Prepping the Survey
While all the computers are pulling (this may take a couple moments), we can prep the survey form.
In Google Drive, go to the team folder /QA/
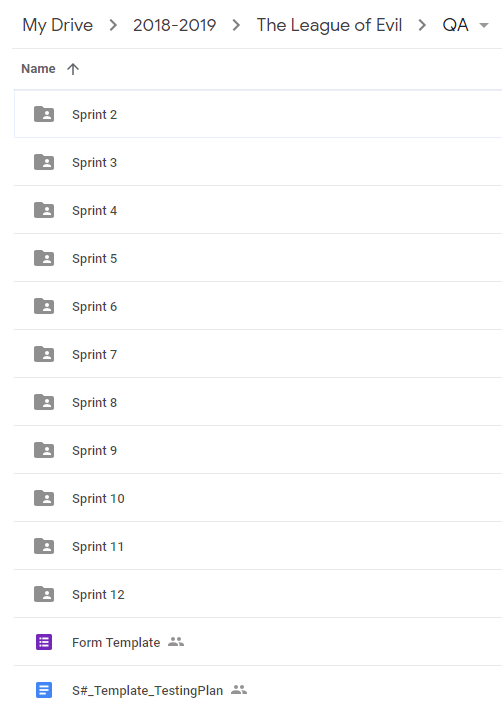
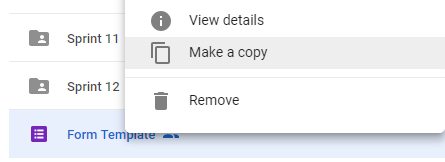
Find the form template
Duplicate it
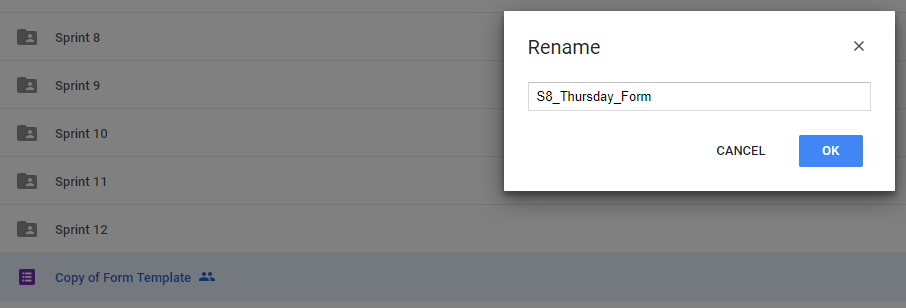
Rename duplicate to S<sprint #>_<day>_Form (i.e. S7_Monday_Form)
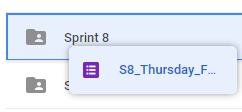
Move it to the appropriate sprint folder, or create one
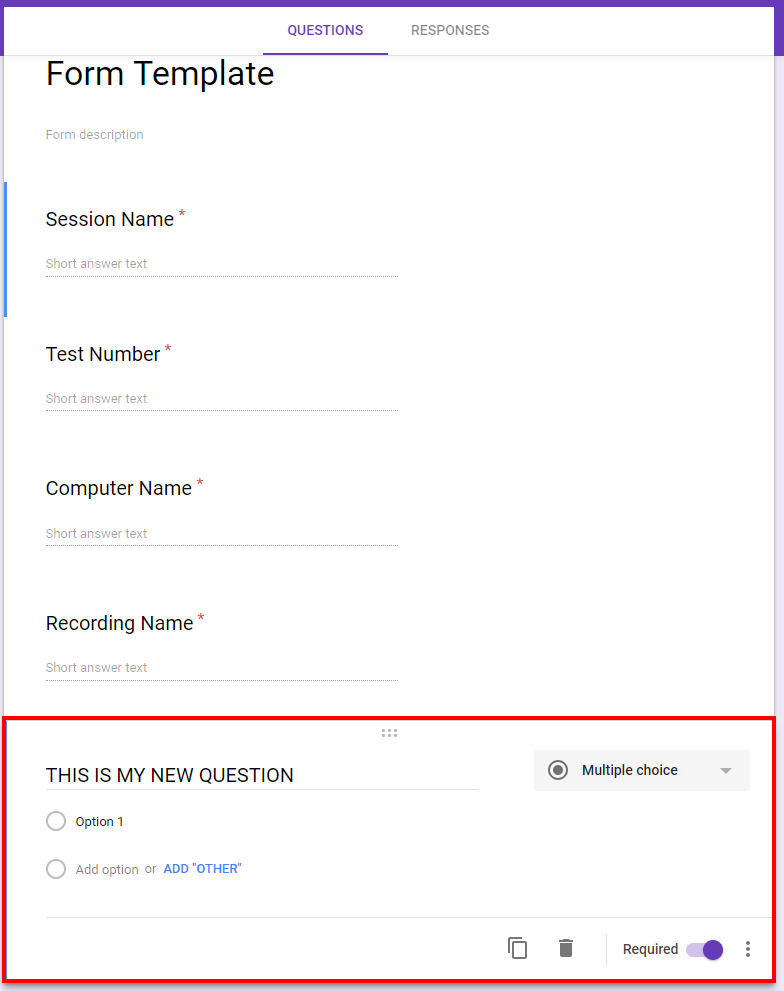
Add the necessary questions (make sure to keep the default questions)
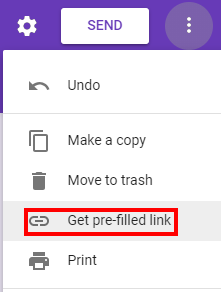
Go to settings -> Get Prefilled Link
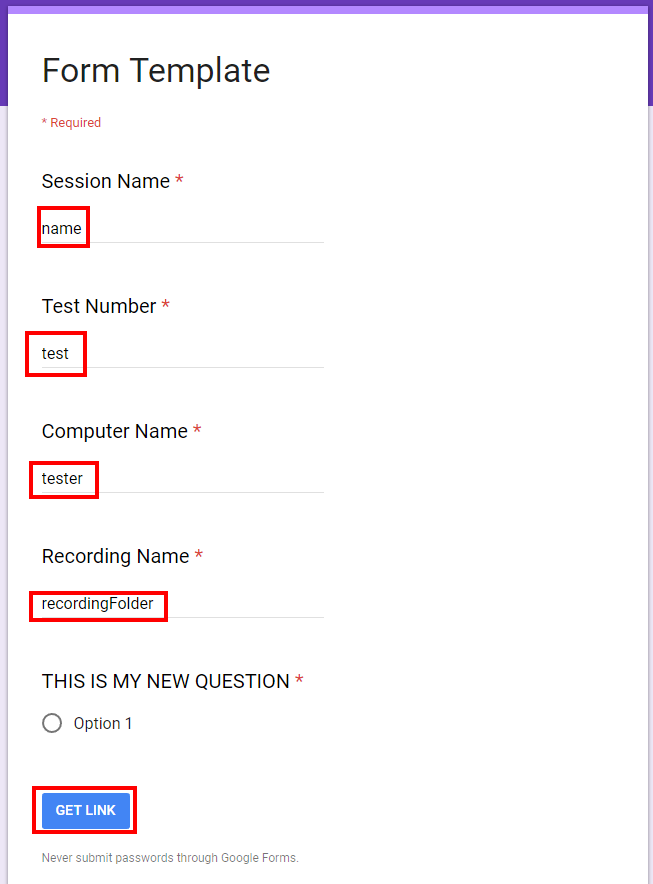
Prefill the default questions with “name”, “test”, “tester”, “rec”
Click on Get Link
Click on Copy Link

Paste in temporary txt doc

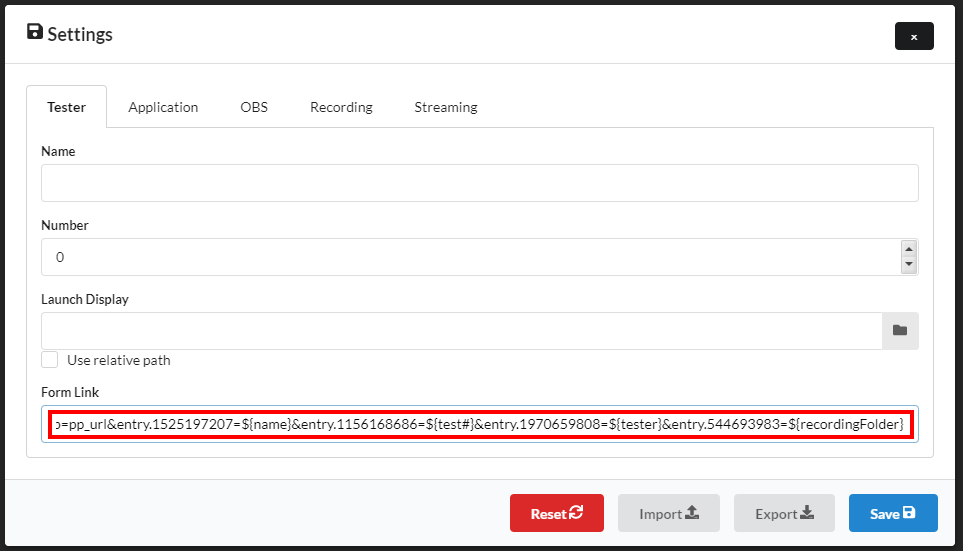
Replace field values with ${name}, ${test#}, ${tester}, and ${recordingFilename} respectively

Launcher
We are using a special in-house software called the QARecorder. This is used to simplify the developer interactions with testers, and can assist with the recording of gameplay. You can setup the recorder on just one computer (we will setup the others in a moment).
Open the QA recorder exe located earlier
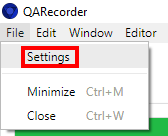
Open the settings
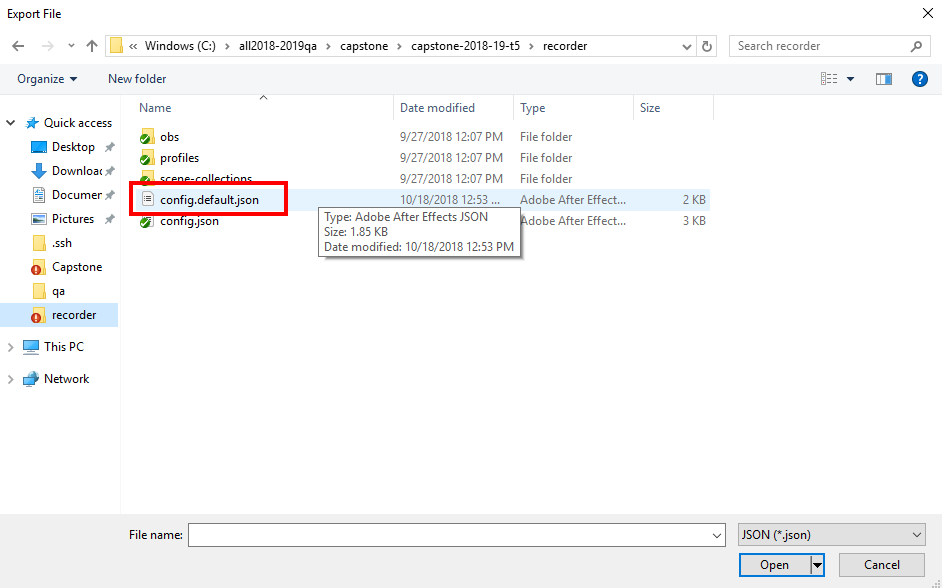
Import C:/all2018-2019qa/capstone/capstone-2018-19-t5/recorder/config.default.json
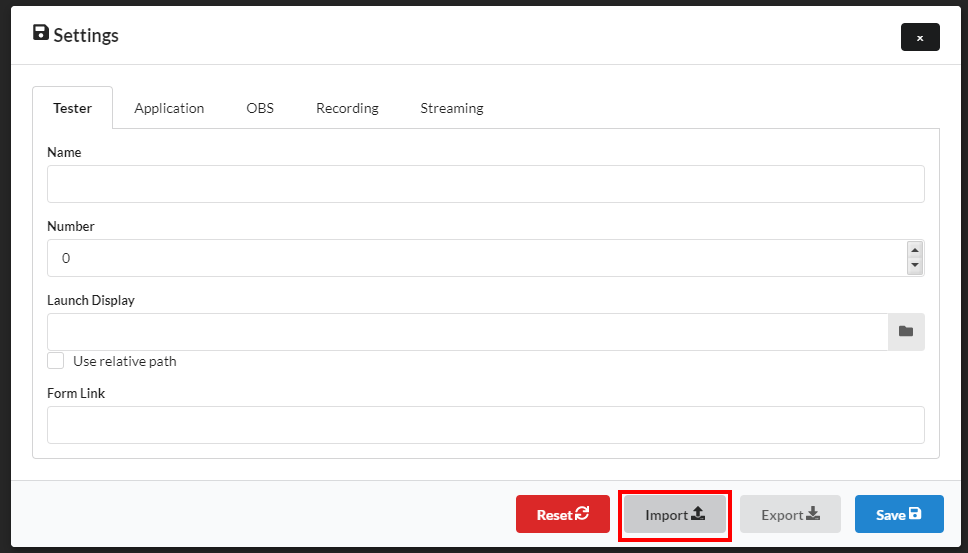
Paste the new link in the tester section field
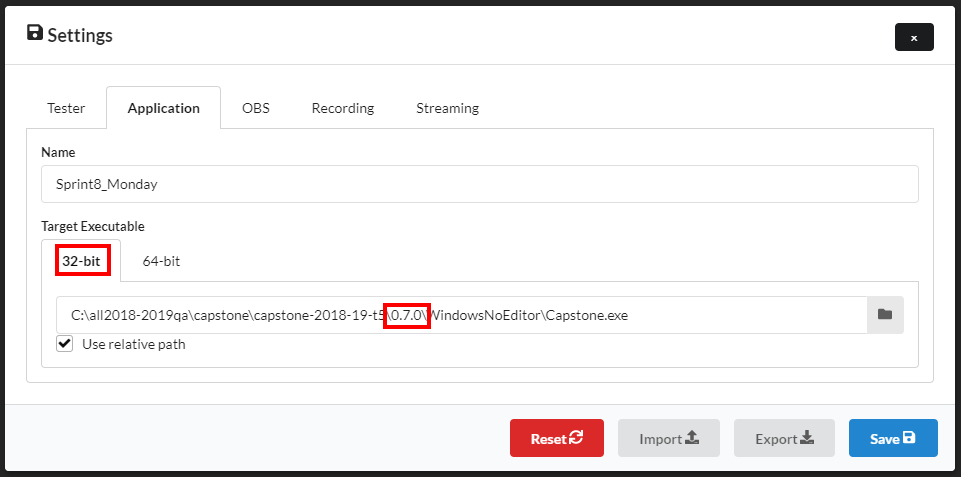
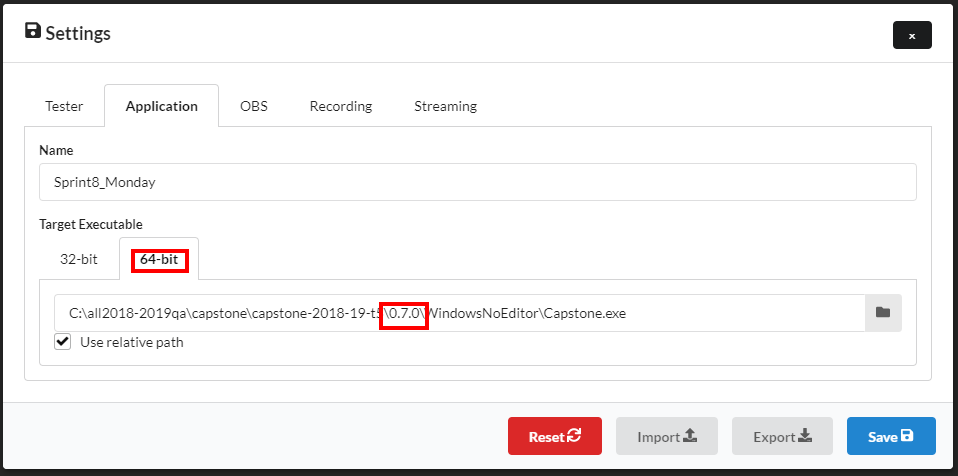
Update the name of the application to be “Sprint<sprint>_<day>” (i.e. “Sprint8_Monday”)
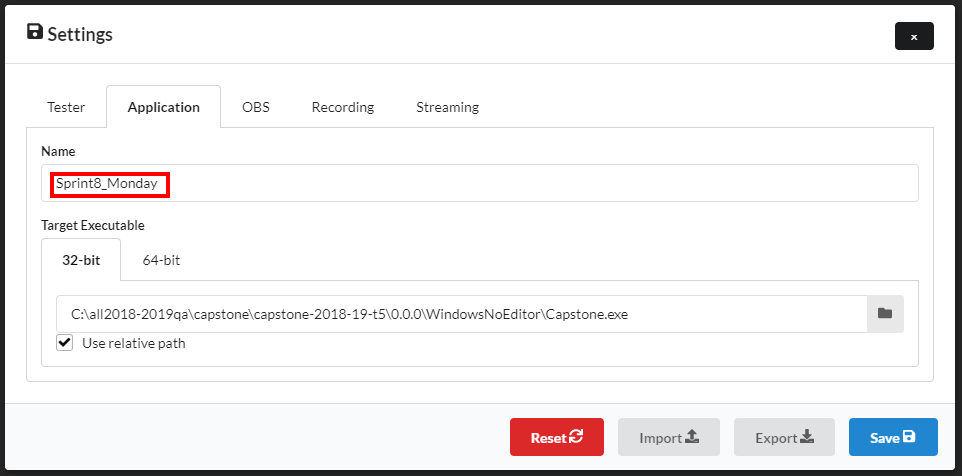
Change the paths of the application target to the appropriate version
Tell the QARecorder if you are recording gameplay or not
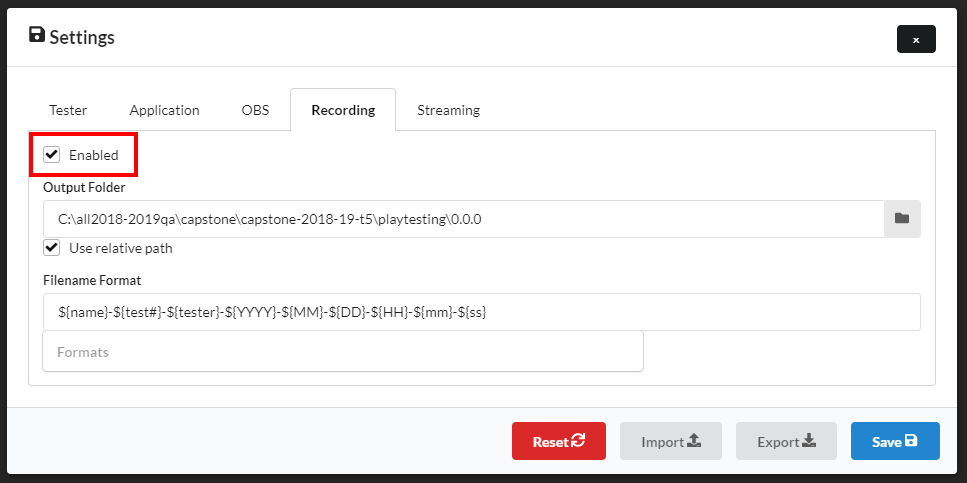
If you are recording gameplay in this QA session:
Change the recording path to playtesting/<your version>
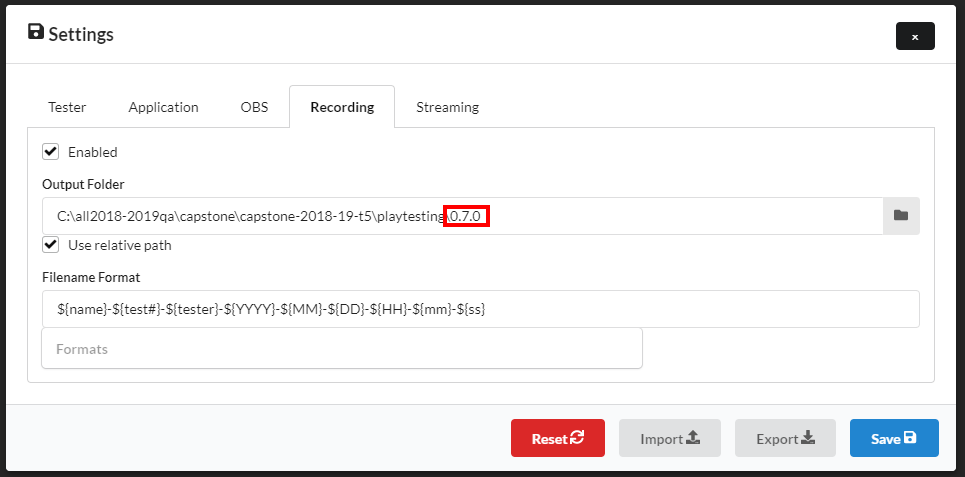
Add a recording folder for your version
Pushing your configuration
Once you have setup the QARecord on one computer, you easily setup the others. First, we have to get the settings to the repo, so other computers can get it.
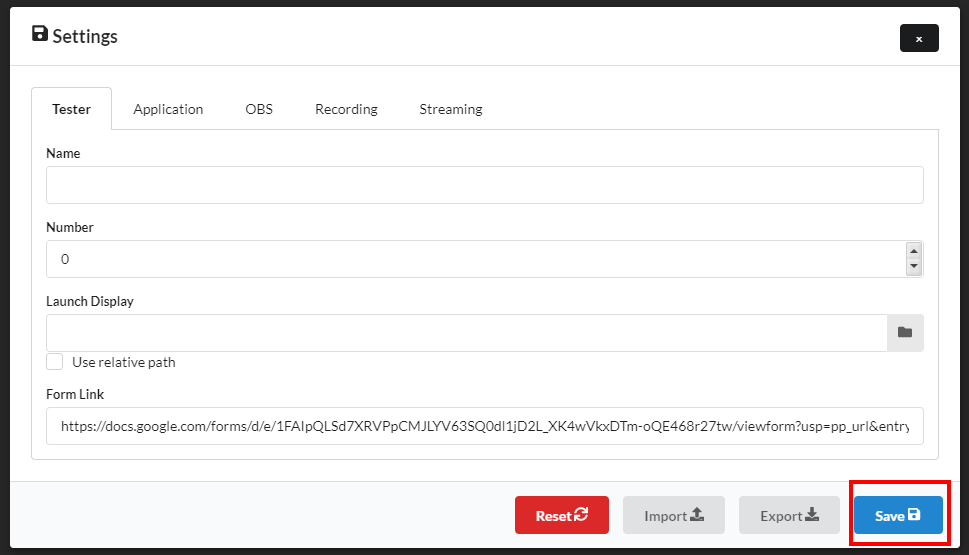
Save all settings from the Settings menu in the QARecorder
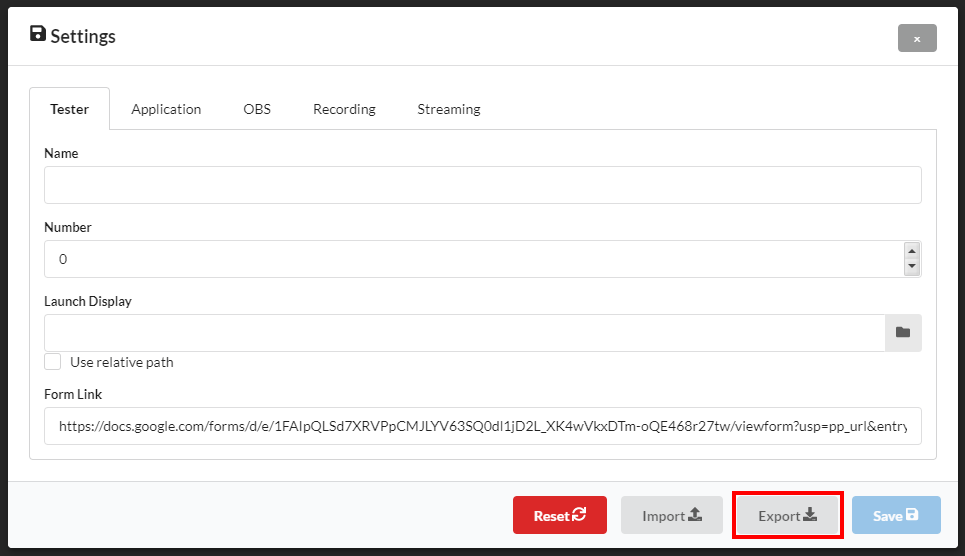
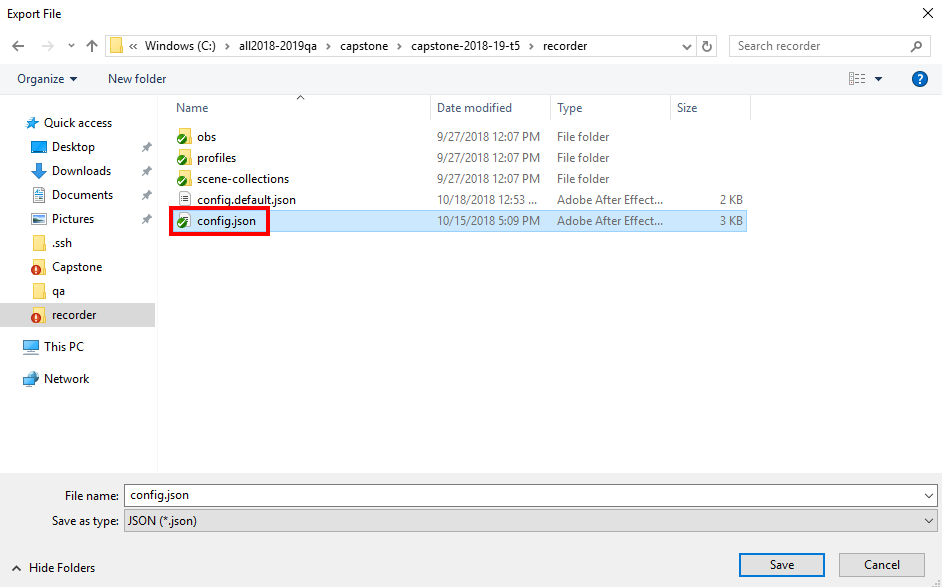
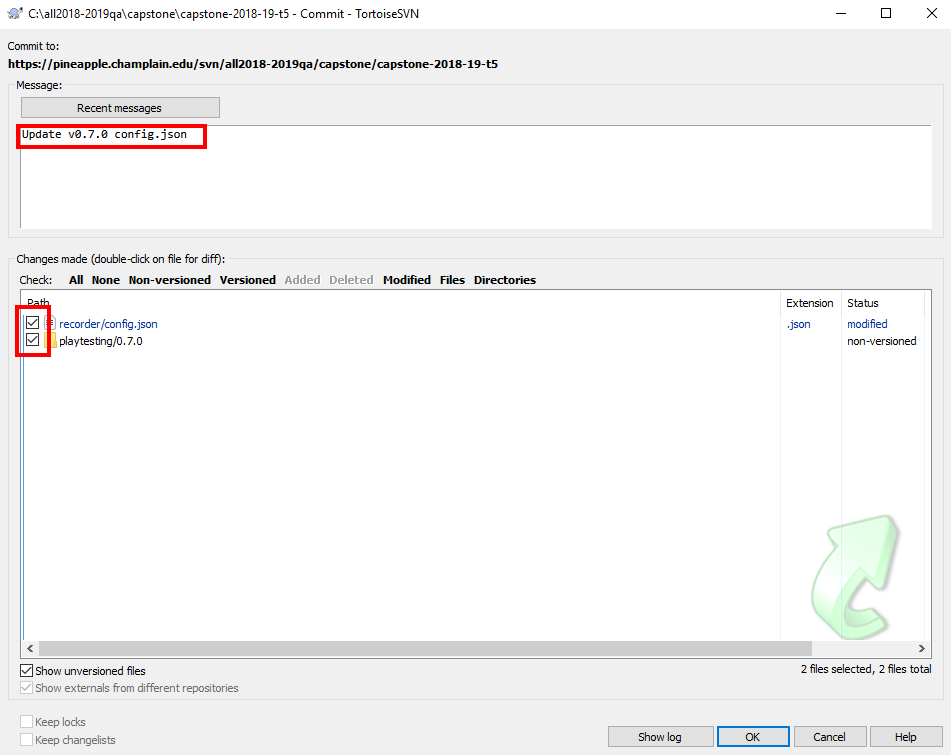
Click on Export, and select the recorder/config.json in the repository
Go to file explorer and right-click. Then select the option “SVN Commit”
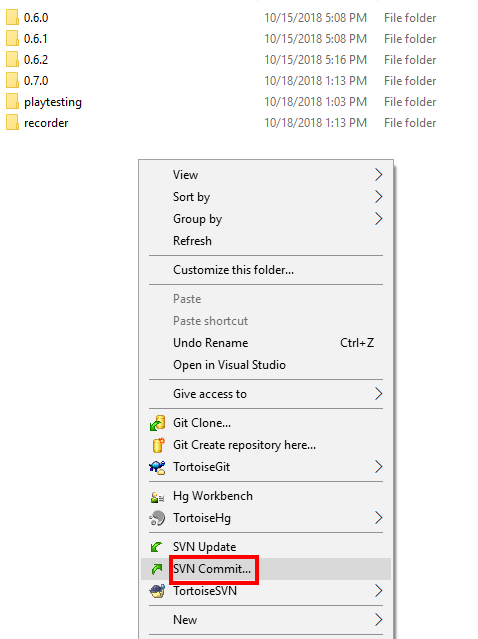
Commit to the svn repo with the commit “Update v<your version> config.json” (make sure you have both the config.json and your new playtesting folder if you made one)
Setting up other computers
Finally, we can setup all the other computers too! You should do the following on all the other computers.
Right click in the QA repo and do another “SVN Update”
Locate and open the QA Recorder
Import C:/all2018-2019qa/capstone/capstone-2018-19-t5/recorder/config.json
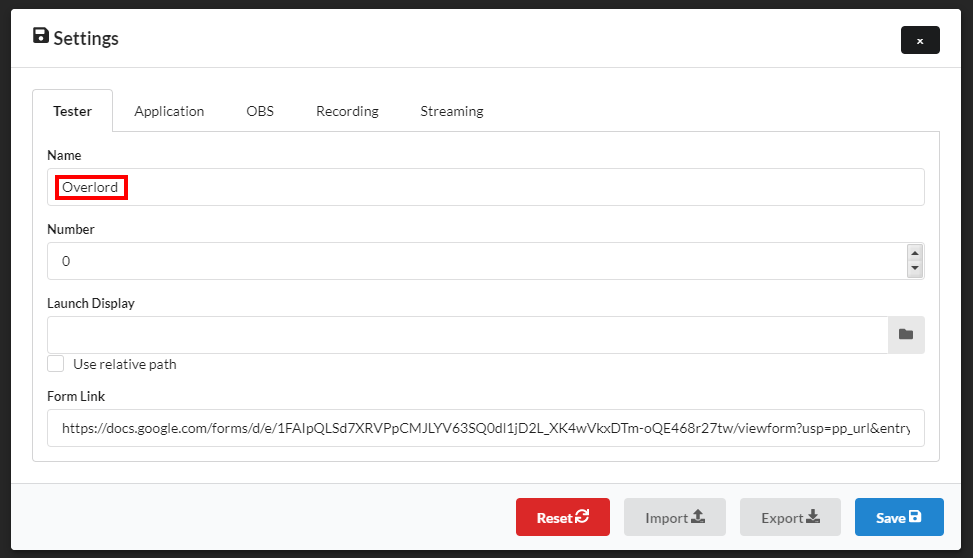
Open the settings
Update tester name. This should be unique to each computer. Current standard is Overlord (if watching from a 5th computer), and TesterA, TesterB, TesterC, TesterD.
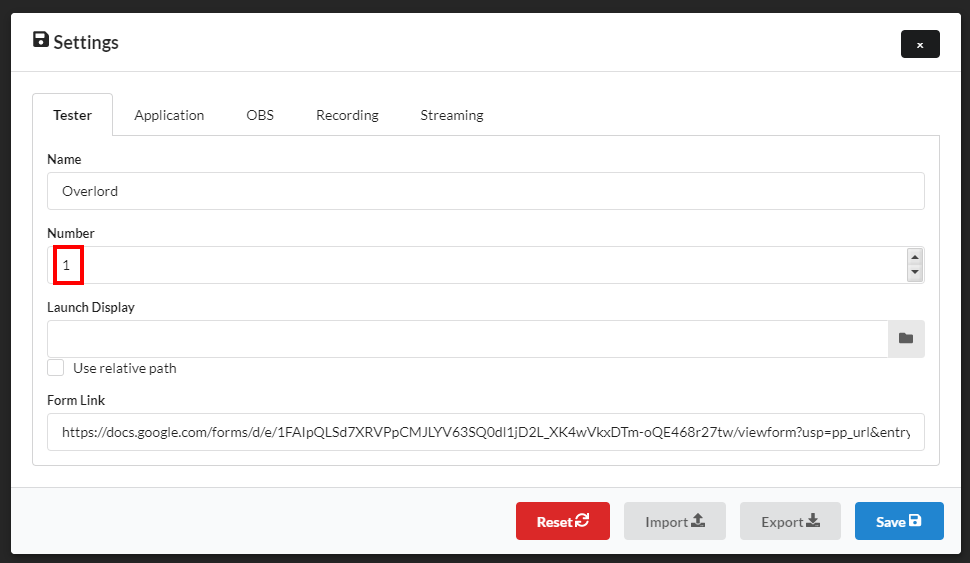
For the test session, the trial # should always start at 1 - then just make sure all the computers remain in sync at the start of each session (they increment when the reset button is pushed)
Save
Ready to Test!!
Horray! You are ready to start playtesting. Please do a trial run to make sure all settings are as you would like and the recorder does its job. When your trial run is done, please make sure the first round of testers are using Trial/Test # 1 (if you clicked Reset, this number was incremented).